How To Resurface
Concrete
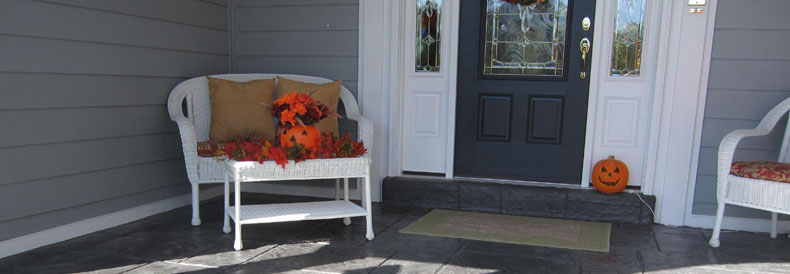
One of the most common forms of structural flooring is concrete, and if you have concrete you know how age can affect its finish. Cracks, gouges, and stains are only a few of the plagues that can damage the curb appeal of your home or business. While there are contractors out there that will urge you to completely replace your concrete, this process can take weeks and cost you tens of thousands of dollars to complete; not to mention plenty of noise and dust! But, there is a project that can save you from these grueling circumstances and it is called concrete resurfacing. Today, our goal is to tell you how you can resurface your concrete yourself with a few guidelines that can make the process as easy as possible. So, let’s get started, shall we?
Cleaning Your Concrete
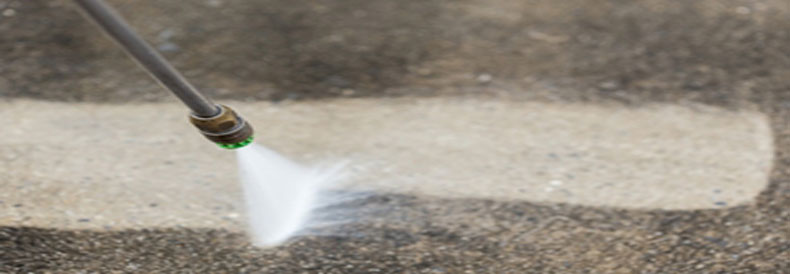
The first step of the process is the most important of the entire process, making sure your slab is as clean as possible. The cleaner you get your concrete, the better performing and longer-lasting you can expect your micro-topping resurfacing agent to adhere to your existing concrete. There are efficient ways to get the concrete clean in one sweep and that is with a 3500 PSI pressure washer. But if you don’t have the luxury of having a pressure washer or renting one, there are ways to get your slab clean. You can enlist the help of a stiff bristle brush, CLR or simple green and a garden hose to get your concrete clean. There are ways to make sure your concrete has been properly cleaned but some of them may occur after you have already begun after you have started. Down below, you will find the differences between a clean and dirty concrete slab:
- Micro topping will be applied very smooth
- Adhesion to concrete can last decades
- No loose debris on the concrete slab
- Topping will not adhere to the concrete at all
- Bumps and bubbles will appear in the topping
- The topping will crack when given time to dry
Preparing For Resurfacing
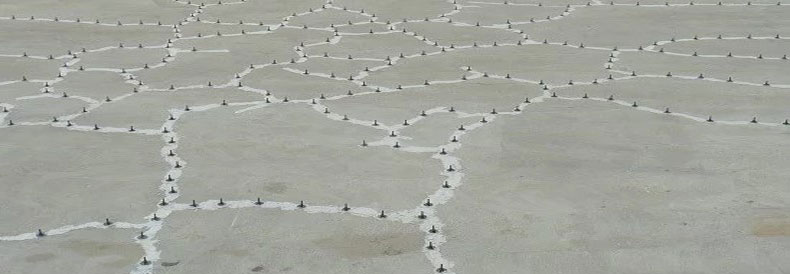
After you have made sure that your concrete slab has become completely clean, the next step is to address the problem areas of your concrete, the cracks. Repairing all cracks before you apply your micro-topping will make a world of difference opposed to allowing the cracks to be filled with the micro-topping. To fill all cracks, there are epoxy and concrete based materials that are used to fill the crack. After your crack has been filled, we recommend using a piece of fiberglass mesh over the crack to reduce the chance of the cracking showing through the resurfaced product. Apply a small portion of micro-topping over the crack and smooth it over with a trowel. Use a sponge while the material is still wet to remove any sharp edges on your repair. Allow the material to dry and use a garden hose to wash down the deck once more before starting to mix up your micro-topping for the full project. Now its time to make the magic happen!
Mixing The Micro Topping
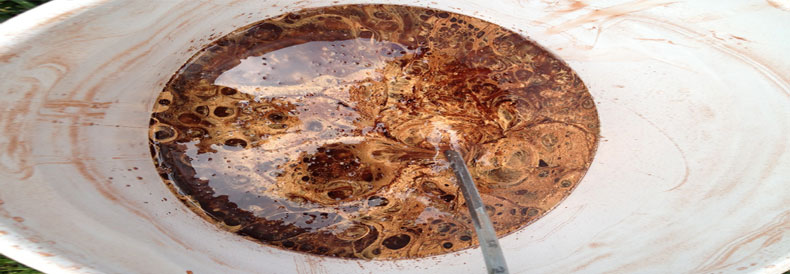
The next or final step of resurfacing your concrete is to apply the micro-topping through the entire concrete slab. When mixing your material, read the label to check if you need any special additives, amount of water and how long you should mix or let the material sit after mixing. Also, make sure you have enough material to cover the area you are working with, even though the coating is thin, it is easy to under order your materials and that’s the last thing you want. Now its time to get your tools ready, your knee pads on and say goodbye to your damaged concrete slab!
Applying The Topping
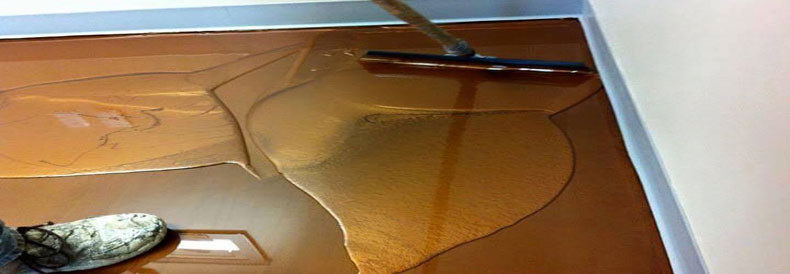
This is where things can get tricky. Depending on the type of material, size of the concrete slab, and consistency of your material, you are going to want to have a few different tools at your disposal. For smaller areas, all you may need is a trowel but for larger areas, you are going to want to have a squeegee on hand. Remember, the weather plays a major role in this process. We recommend refraining resurfacing on a hot summer day. But, if you are on a strict timeframe, make sure to keep the area you are working in shaded, use cold water to mix and mix your material in batches in necessary. Taking your time won’t only save you a headache, it will save you time in the long run. We also recommend refraining from filling expansion joints with the topping, use weather strips to prevent cracking. Try to make the topping as smooth and as level as possible for the best-finished product.
Well, there you have it, how to properly and efficiently resurface your concrete slab! We know that the process can seem very grueling, and that is completely understandable. This is why many home and business owners enlist the help from a professional contractor to save time and the headache. Either route you decide to take, we wish you the best of luck!
.
